
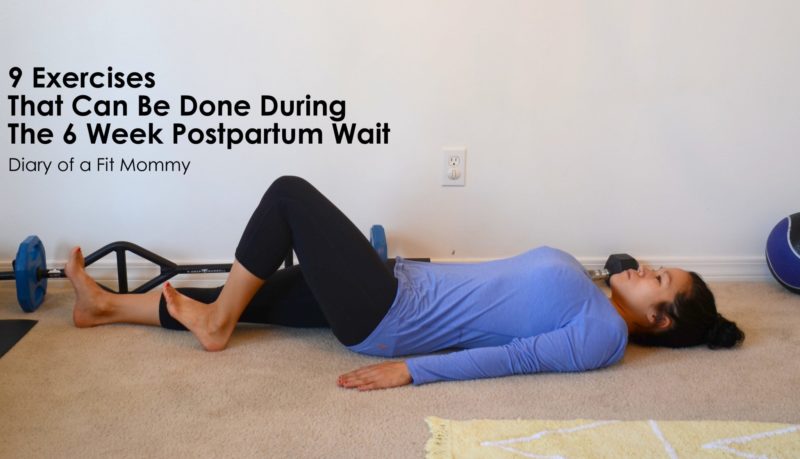
9 Exercises That Can Be Done During the 6 Week Postpartum Wait
I often get asked when it is safe to start working out again after having a baby. This is a tough question for me to answer and I actually won’t give a straight-forward answer because each and every female body, delivery, and recovery is so different. Also, I am totally not your doctor-sorry. All I can tell you is to listen to your body and trust yourself at your own risk.
New guidelines from ACOG have recently stated that the 6 week postpartum wait may not be all that nescessary and it has merely become a myth. For some, I would say yes WAIT. But for others who are able to, why not? You must think I am crazy to rush back into exercise so soon after delivery, but not all moms feel like waiting and not all moms should wait.
For my postpartum period, I have not been doing too much-just little things here and there since I am not longer bleeding. I am two weeks postpartum now and I have done a few stroller walks, gone out shopping, and did a few bodyweight exercises. I still have not lifted a weight yet because I am not ready just yet. I might make that a goal for the following week ahead, if my body allows.
I have been focusing on light things such as walking, stretching, and restorative exercises for my pelvic floor. During delivery (well, and pregnancy, too) your pelvic floor basically goes to hell and back and if you do not want to spend your entire lifetime pissing yourself with each jump or sneeze, it is wise to do pelvic floor exercises. I will share several of them with you as we go along.
There are so many benefits to resuming exercises shortly after giving birth:
- faster postnatal recovery
- reduced pain
- better posture
- stronger pelvic floor
- Diastasis Recti healing
- faster body bounceback/regained muscle memory
Prior to beginning ANY exercise during the 6 week postpartum wait, please talk to your doctor by simply giving them a phone call and asking them what you can and cannot do. Most will tell you to wait until the 6 week check so that they can check you, but you know your body better than anyone else.
Before beginning any type of routine, keep the following in mind:
- start small and slow
- monitor your bleeding or better yet wait for it to stop
- monitor your pelvic floor
- find out if you have diastasis recti and repair it first
- let your c-section incision heal (if you had one)
- be aware of wobbly joints as the prenatal hormone Relaxin is still within your system for 8 weeks postpartum
- stay hydrated
- rest
- stop if you feel ANY pain and, when in doubt, call your OB/GYN
Here are 10 exercises that can be done during the 6 week postpartum waiting period:
Walking

This is a simple no brainer that anyone can do and that you already do each time you move about your house: walking! You don’t have to go about it briskly.. unless you just wanna and feel up for it. Simple getting out of the house and walking around the neighborhood can not only make you feel better, it can also help jumpstart you back into your fitness regmine.
Stretching

This is by far my favorite stretch for the postpartum ladies out there who are breastfeeding exclusively. It helps to open up a tight chest and a tight neck. Hold this post for ten seconds and repeat 5 times.
Kegels
To activate your pelvic floor, imagine you are stopping the flow of urine. Hold muscles for 10 seconds (don’t hold your breath) and slowly release. Do 20 holds 5 times a day. This exercise can be done while sitting or standing—even when nursing! There’s really no need for an image since kegels cannot be seen in action, but you can do them standing, sitting, or even lying down!
Pelvic Tilts
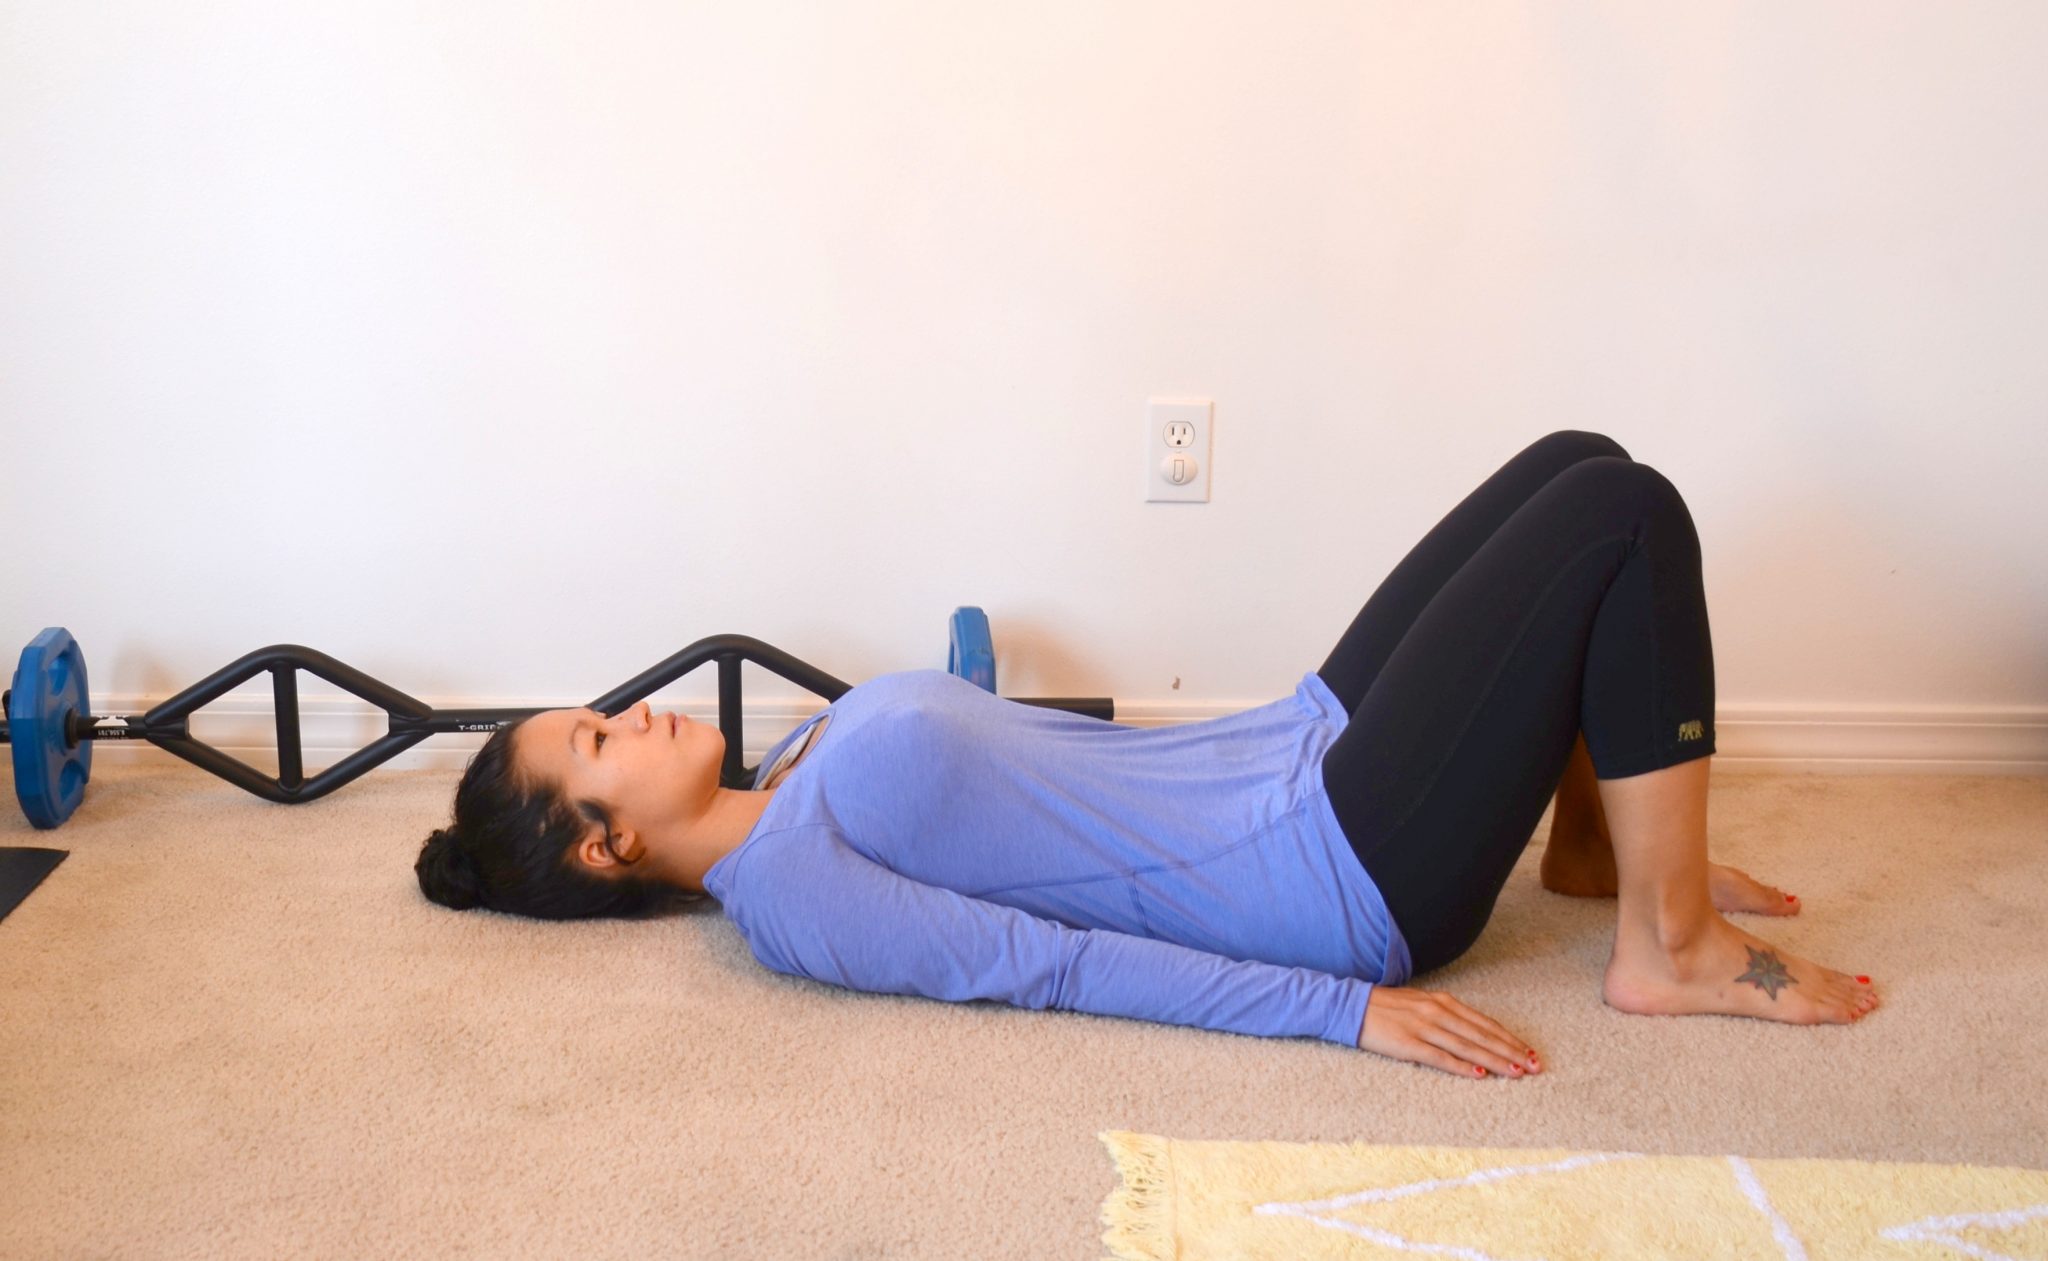

Lie on your back with your knees bent such as in a glute bridge stance. “Brace” your stomach-tighten your muscles by pulling in and imagining your belly button moving toward your spine. You should feel like your back is pressing to the floor and your hips and pelvis are rocking upward and back.
Abdominal Bracing


Abdominal bracing is simply tensing (contracting) the abs as if you are about to be hit in the stomach (you don’t have to do this will full force). Bracing the abs will automatically pull in the stomach slightly, but abdominal bracing does not involve pulling in or pushing out the abs. Abdominal bracing activates all the layers of abdominal muscles along with muscles deep in the lower back.
Marching

Lie on your back with your knees bent, keep your feet flat on the floor and your toes pointing straight ahead. Gently draw-in your navel towards your spine and contract your glutes. Slowly lift one foot off the floor with control, hold in the air for a few seconds and lower your foot back to the floor. Repeat with the other foot.
Cat/Cow

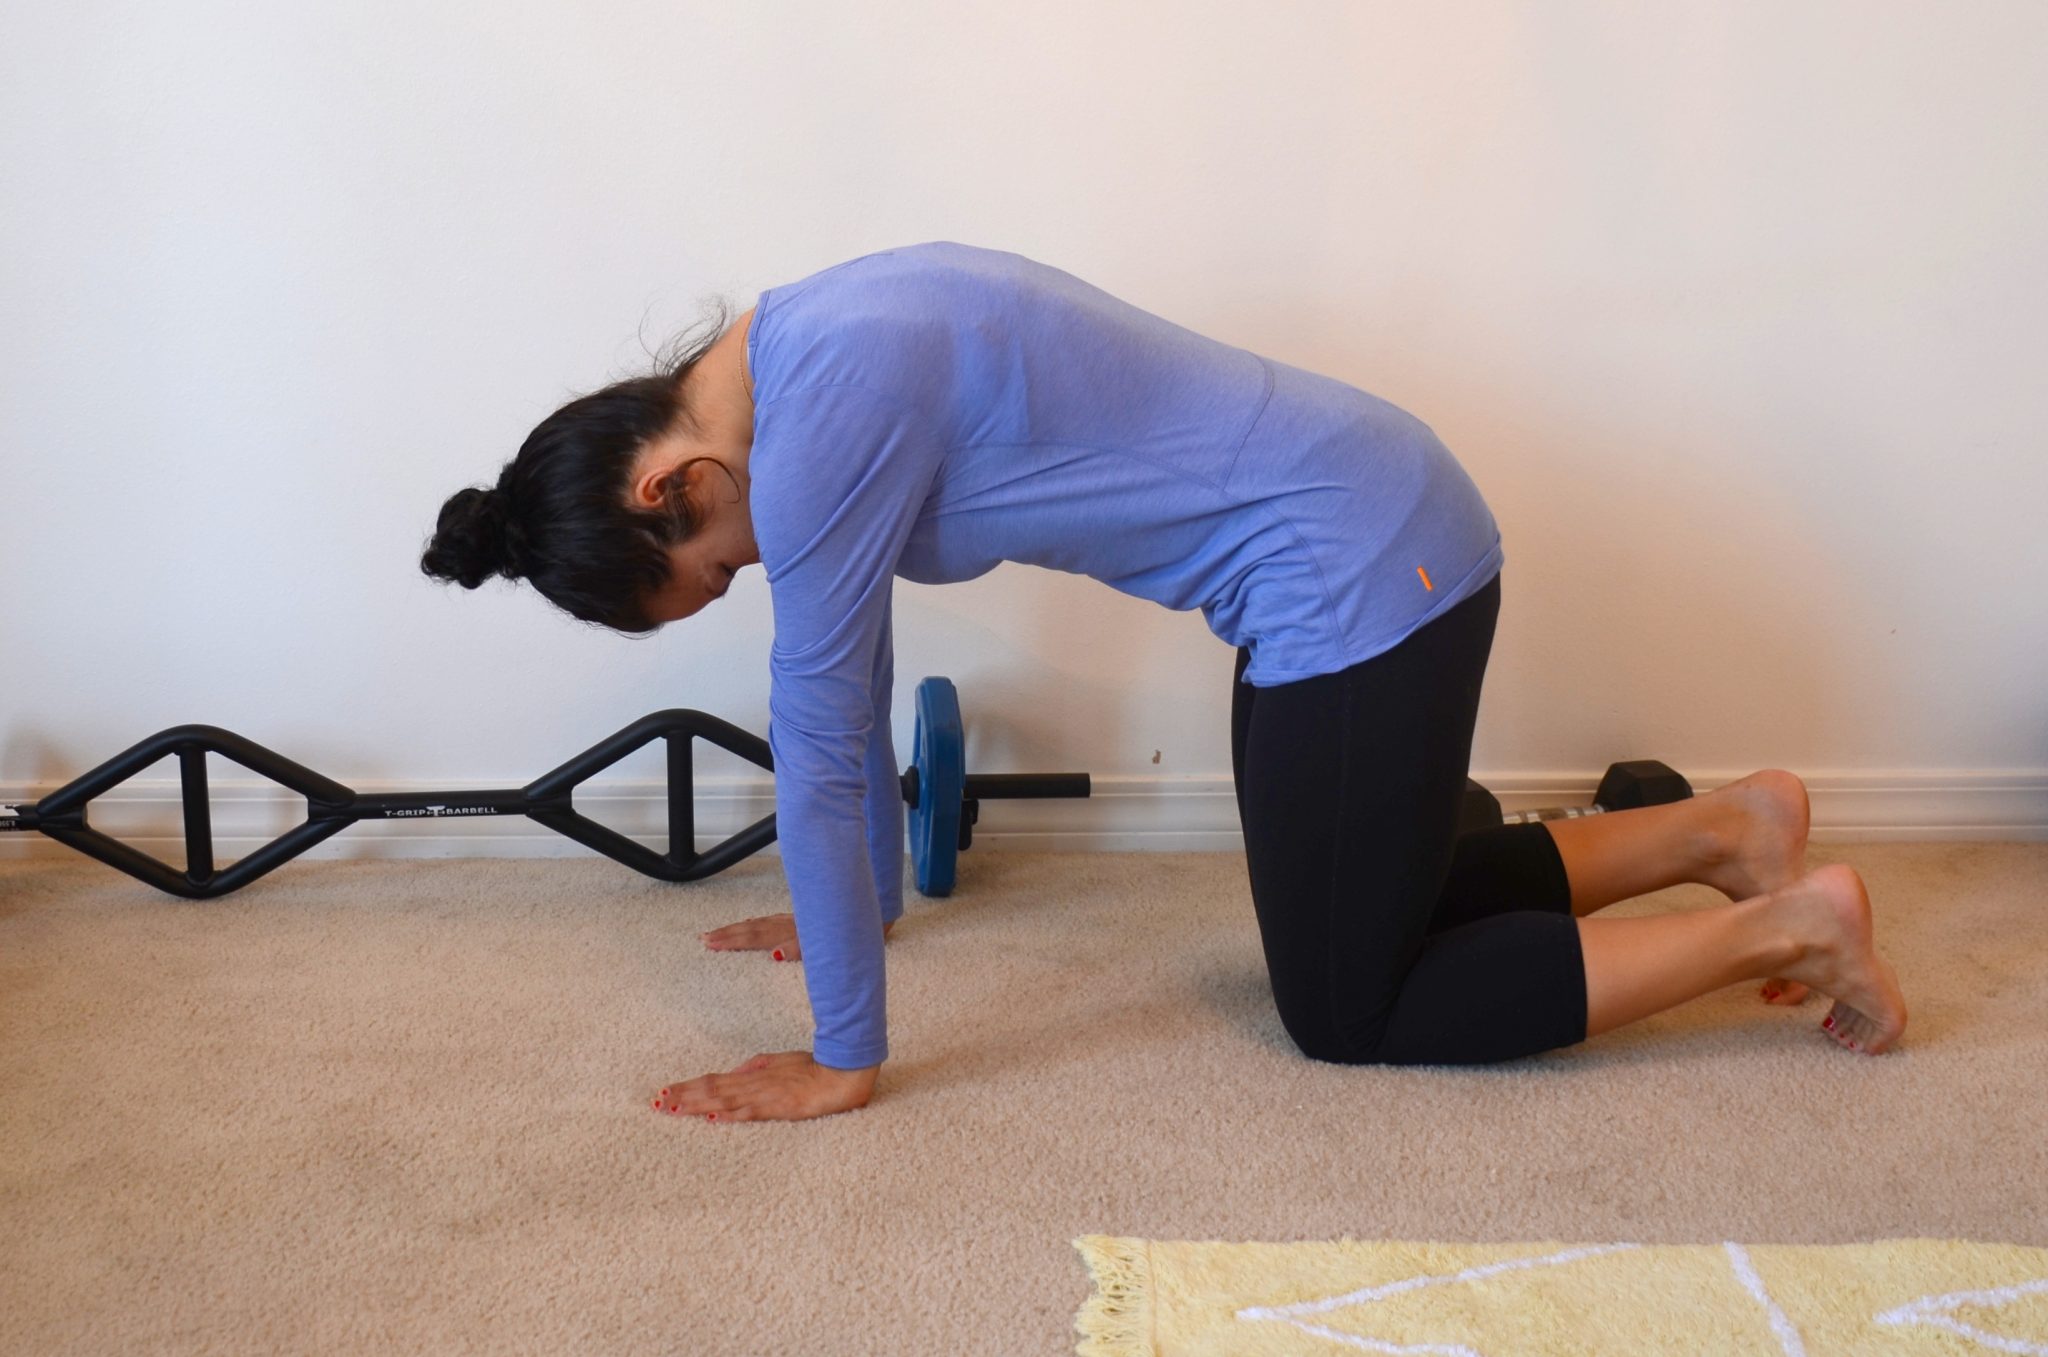
- Begin with your hands and knees on the floor. Make sure your knees are under your hips, and your wrists are under your shoulders. Begin in a neutral spine position, with your back flat and your abs engaged. Take a big deep inhale.
- On the exhale, round your spine up towards the ceiling, and imagine you’re pulling your belly button up towards your spine, really engaging your abs. Tuck your chin towards your chest, and let your neck release. This is your cat-like shape.
- On your inhale, arch your back, let your belly relax and go loose. Lift your head and tailbone up towards the sky — without putting any unnecessary pressure on your neck. This is the Cow portion of the pose.
- Continue flowing back and forth from Cat Pose to Cow Pose, and connect your breath to each movement — inhale for Cow Pose and exhale on Cat Pose.
- Repeat for at least 10 rounds, or until your spine is warmed up.
Heel Slides
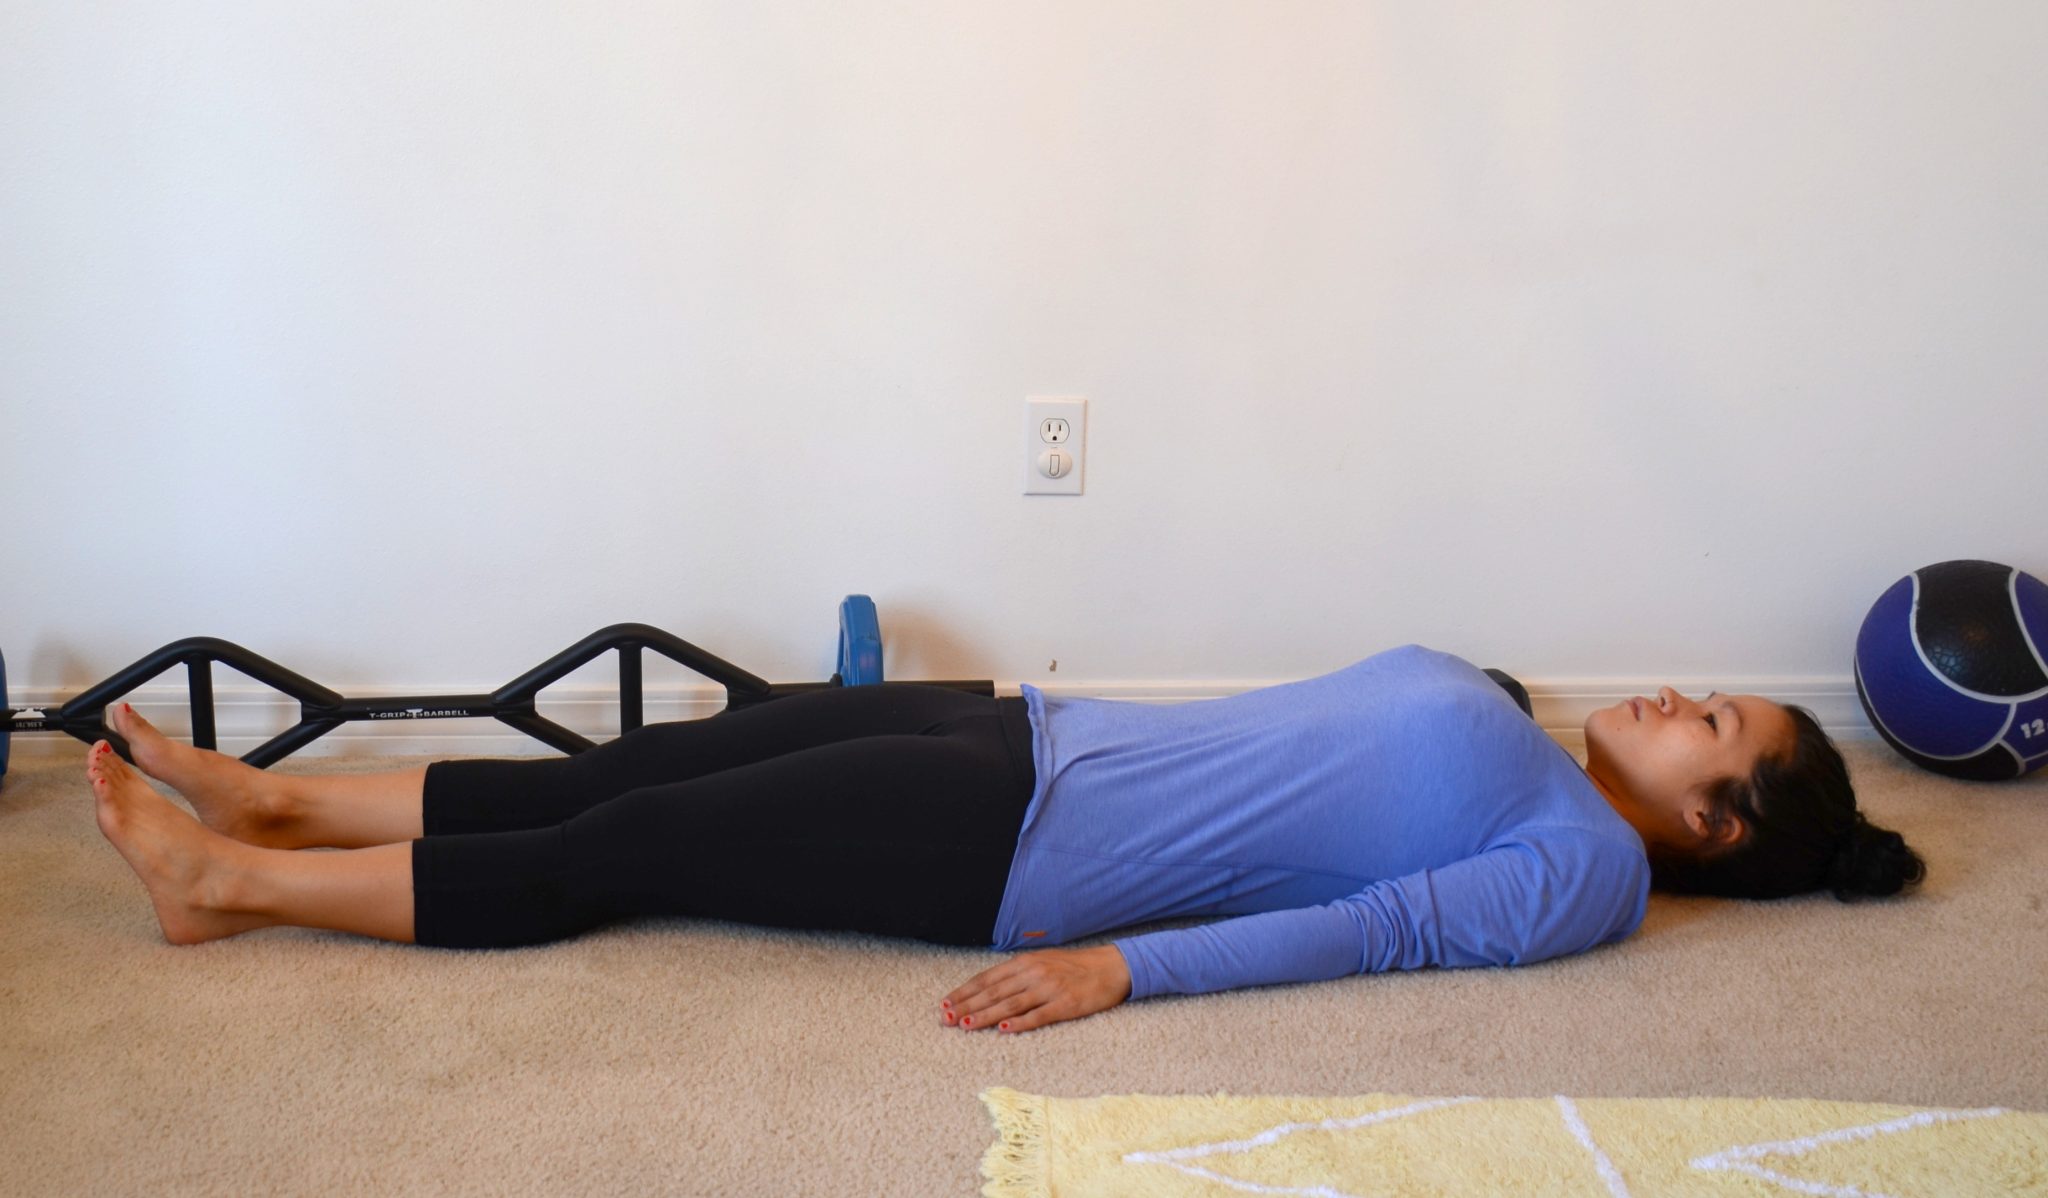

Lie down on the floor or the bed with your leg flat.
Slowly begin to slide your heel toward your buttocks, keeping your heel on the floor or bed. Your knee will begin to bend.
Continue to slide your heel and bend your knee until it becomes a little uncomfortable and you can feel a small amount of pressure inside your knee.
Hold this position for about 6 seconds.
Slide your heel back down until your leg is straight on the floor or bed.
If you cannot make it to a gym and need to workout from home, try my new Strong Body Guide that is helping busy women worldwide get into their best shape ever. Little to no equipment needed for most moves!
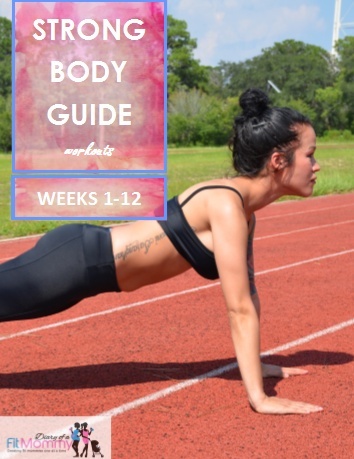
In this guide, you can expect:
– ✅ 12 weeks of workouts that can be done at home with little to no equipment.
– ✅ 225 pages long
– ✅ Each workout takes less than 30 minutes-great for busy schedules.
– ✅ step by step instructional picture examples of every move
– ✅ no gym required
– ✅ exercises focus on hiit, strength training, and plymetrics
– ✅ download on any device
– ✅ build a lean tone stomach, butt, thighs, and arms
– ✅ download instantly from anywhere
– ✅ promote fat loss & boost metabolism
– ✅ contains cardio and stretching routines as well!
– ✅ full exercise glossary with images and instructions for every move
*All guides are digital ebooks available instantly worldwide. Compatible on all devices – Android, iPhone, iPad, Kindle, Nook, Computer, Mac.
Your trainer and friend,


